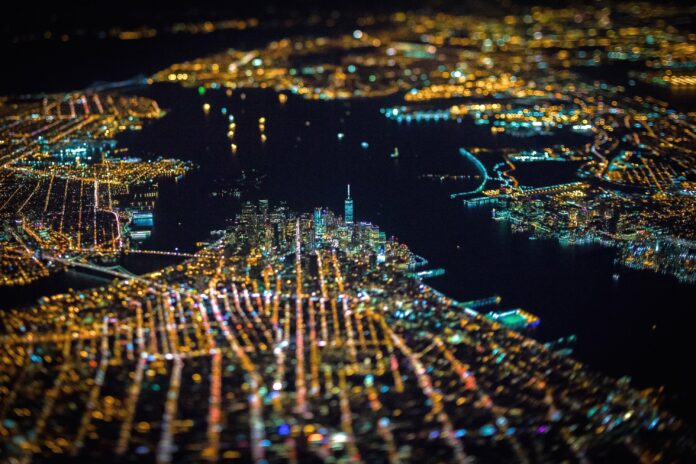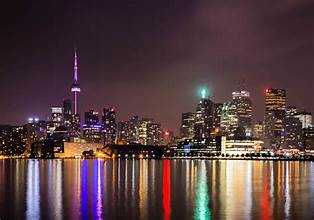
Night photography offers a unique challenge and opportunity to capture stunning images of city lights and skylines. The key to mastering this genre lies in understanding and utilizing the right camera settings. This guide provides essential tips on how to adjust your camera settings to capture breathtaking night scenes.
1. Use a Tripod for Stability
When photographing city lights at night, stability is crucial. A tripod helps eliminate camera shake, allowing for longer exposure times without blurring. Invest in a sturdy tripod to keep your camera steady, especially for low-light conditions.
2. Set Your Camera to Manual Mode
Manual mode gives you full control over your camera’s settings, essential for night photography. It allows you to adjust the aperture, shutter speed, and ISO independently to achieve the best exposure. Switch to manual mode to fine-tune your settings for optimal results.
3. Adjust the Aperture
The aperture controls the amount of light entering your camera and affects the depth of field. For cityscapes and skyline shots, use a narrow aperture (high f-number) such as f/8 or f/11. This will ensure a greater depth of field, keeping both foreground and background sharp.
4. Control Shutter Speed
Shutter speed determines how long the camera’s sensor is exposed to light. For night photography, use a slower shutter speed to capture enough light from the city. Typical settings range from 10 to 30 seconds, depending on the light conditions and desired effect. Experiment with different speeds to avoid overexposure.
5. Set the ISO Wisely
ISO affects the camera’s sensitivity to light. Higher ISO settings can capture more light but may introduce noise (graininess). For night scenes, start with an ISO of 400 to 800. If the image is too dark, increase the ISO in increments. However, avoid going too high to maintain image quality.
6. Focus Manually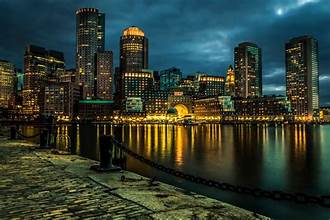
Autofocus can struggle in low-light conditions, so manual focus is often more reliable. Use live view mode to zoom in on your subject and adjust the focus manually. Ensure that your focal point is sharp, especially for cityscapes where details are important.
7. Use a Remote Shutter Release
To prevent camera shake during exposure, use a remote shutter release or the camera’s built-in timer function. This eliminates the need to touch the camera, which can introduce slight vibrations and affect the sharpness of your image.
8. Compose Your Shot
Effective composition is key to a compelling cityscape photo. Use leading lines, framing, and the rule of thirds to enhance your image. Pay attention to elements like streetlights, reflections, and architectural features that add interest to the scene.
9. Consider Post-Processing
Post-processing can significantly enhance night photos. Use software like Adobe Lightroom or Photoshop to adjust exposure, contrast, and noise levels. You can also correct color balance and sharpen details to bring out the best in your night photography.
10. Check the Weather and Lighting Conditions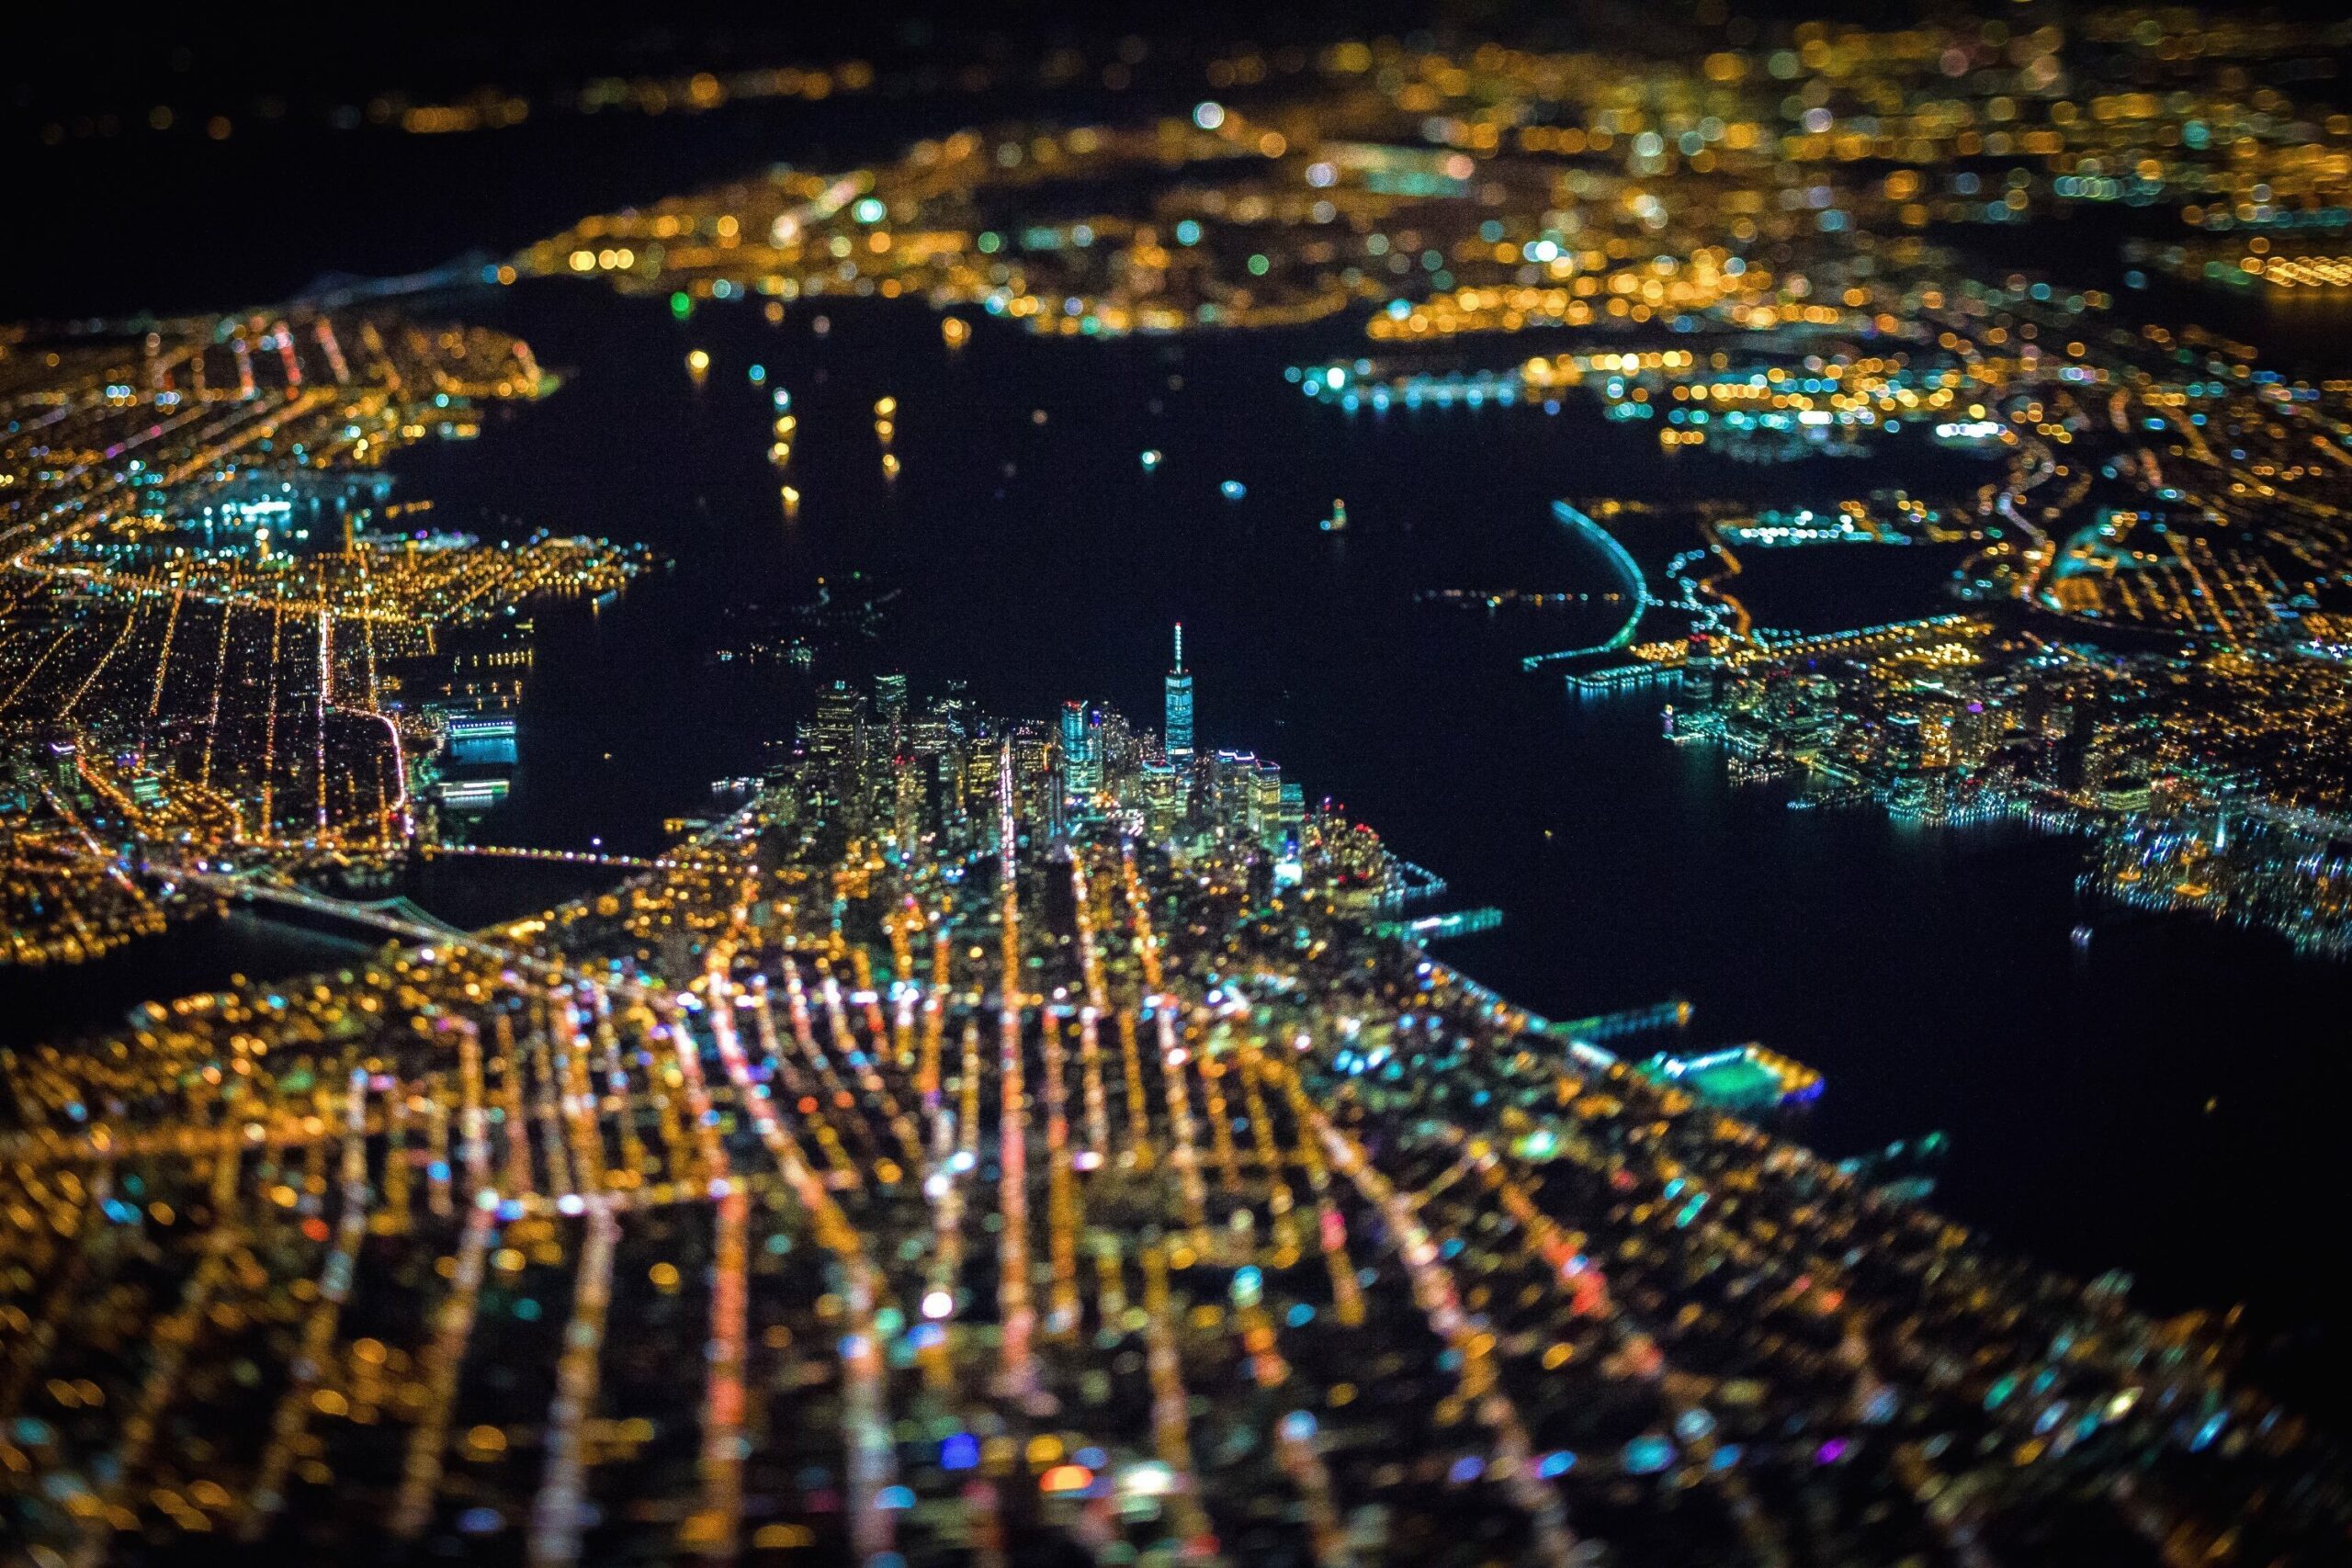
Weather and lighting play a crucial role in night photography. Clear skies are ideal for capturing city lights, while cloudy conditions can diffuse light and create a moody atmosphere. Check the weather forecast and plan your shoot accordingly for the best results.
Conclusion
Capturing stunning images of city lights and skylines at night requires a combination of the right camera settings and techniques. By using a tripod, adjusting your aperture, shutter speed, and ISO, and focusing manually, you can achieve sharp, vibrant photos. Don’t forget to compose your shots thoughtfully and consider post-processing to enhance your final images. With these essential night photography settings, you’ll be well on your way to capturing the beauty of cityscapes under the stars.

