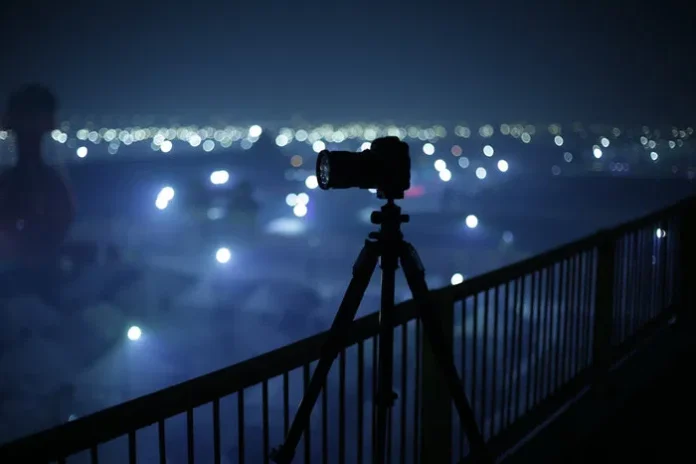
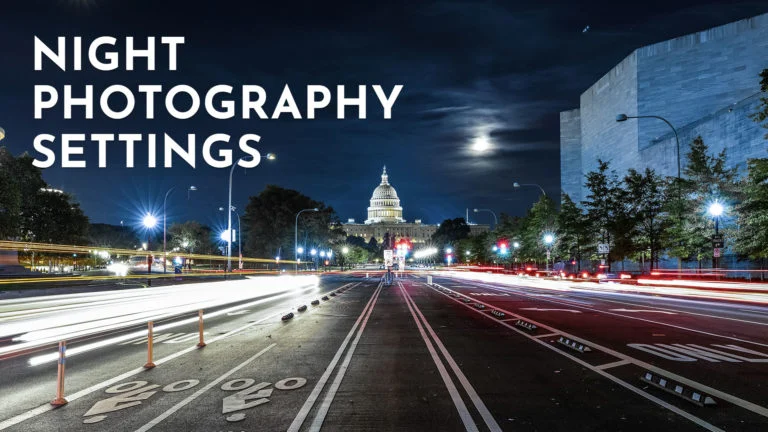
Night photography opens up a world of creative possibilities, allowing photographers to capture the ethereal beauty of the night sky, urban landscapes, and more. However, it comes with its unique challenges. To truly master night photography, understanding the right settings and techniques is crucial. This guide will walk you through the essential settings and tips to help you capture stunning nightscapes.
1. Understand the Basics of Night Photography
Before diving into settings, it’s important to grasp the basics of night photography. Night photography involves capturing images in low-light conditions, often requiring longer exposure times and specific settings to get the best results.
Key Elements:
- Long Exposure: The technique of leaving the camera’s shutter open for an extended period to capture more light.
- High ISO: To make the camera sensor more sensitive to light.
- Wide Aperture: To allow more light to enter the camera.
2. Camera Settings for Night Photography
Aperture (f/stop)
A wider aperture (smaller f-number, like f/2.8 or f/4) allows more light to hit the sensor, which is crucial in low-light conditions. However, a wider aperture also results in a shallower depth of field. For nightscapes where you want a lot in focus, consider a medium aperture (like f/8).
Tip: Use a tripod to prevent camera shake when using a wide aperture.
Shutter Speed
Night photography often requires longer exposure times to capture enough light. Shutter speed can range from a few seconds to several minutes, depending on the scene and your camera’s capabilities.
Tip: Use the “Bulb” mode on your camera for extended exposures. This allows you to keep the shutter open for as long as you need by holding down the shutter button or using a remote release.
ISO Settings
Higher ISO settings make the camera sensor more sensitive to light, which is beneficial in low-light conditions. However, high ISO settings can introduce noise (graininess) into your photos. Start with an ISO of 800 and adjust as needed. For cleaner images, use noise reduction software during post-processing.
Tip: Test different ISO settings to find the right balance between brightness and noise.
Focus
Autofocus can struggle in low light, so it’s often better to use manual focus. Use your camera’s live view mode to zoom in on your subject and adjust the focus manually.
Tip: Use a flashlight or a phone to help with focusing in very dark conditions.
3. Essential Gear for Night Photography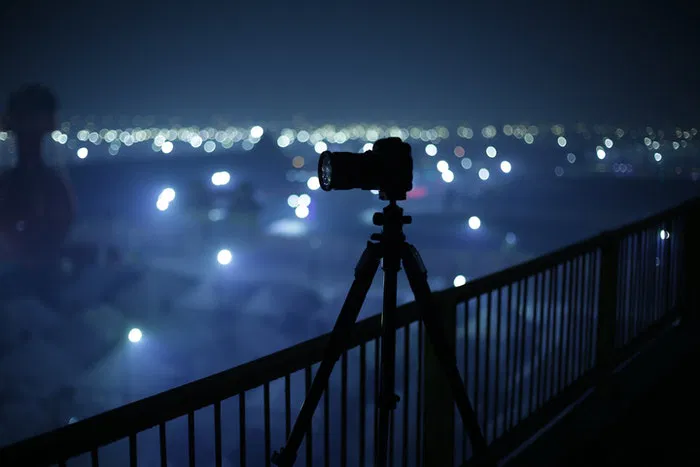
Tripod
A sturdy tripod is essential for night photography. It stabilizes your camera during long exposures, preventing blurriness caused by camera shake.
Remote Shutter Release
A remote shutter release allows you to take photos without touching the camera, reducing the risk of introducing vibrations during the exposure.
Lens
Wide-angle lenses are popular for night photography as they capture a broader view of the scene. Lenses with wide apertures (e.g., f/2.8) are preferred to maximize light capture.
4. Planning Your Shoot
Location Scouting
Scout your location before nightfall to familiarize yourself with the scene. Check the composition, potential light sources, and any obstacles that might affect your shots.
Weather Conditions
Clear skies are ideal for capturing stars or cityscapes. Use weather apps to check for cloud cover or moon phases, as these can impact your photos.
Lighting
Consider the types of artificial lighting present in the scene, such as street lights, car headlights, or building lights. These can add interesting elements to your photos but can also cause unwanted glare or color casts.
5. Post-Processing Tips
Even with the best settings, night photos often need some editing to bring out their full potential.
Noise Reduction
Use software like Adobe Lightroom or Photoshop to reduce noise and improve image quality.
Adjusting Exposure
Fine-tune the exposure and contrast to enhance details and highlight the most interesting parts of your photo.
Color Correction
Adjust the white balance to correct any color casts caused by artificial lighting.
6. Common Mistakes to Avoid
Overexposure
Avoid overexposing bright lights or stars. This can cause loss of detail and create a washed-out effect.
Ignoring Composition
Good composition is key to any great photograph. Ensure you’re considering elements like leading lines, framing, and balance even in low-light conditions.
Neglecting Focus
Ensure that your focus is sharp. Blurry photos can ruin otherwise perfect shots.
7. Experiment and Practice
Night photography requires practice and experimentation. Don’t be afraid to try different settings, compositions, and techniques to find what works best for you.
Try Different Angles
Explore various angles and perspectives to discover unique shots that capture the essence of the night.
Take Multiple Shots
Shoot multiple images with varying settings to increase your chances of getting the perfect shot.
Conclusion
Mastering night photography settings takes time and patience, but with the right techniques and equipment, you can capture breathtaking nightscapes. Experiment with different settings, use a tripod, and don’t forget to plan your shoots carefully. With practice, you’ll be able to create stunning images that showcase the beauty of the night.
