Macro photography opens a world of wonder right at our fingertips, allowing us to capture intricate details and hidden beauty in everyday objects. For beginners eager to explore this fascinating genre, mastering essential techniques can make all the difference in achieving stunning close-up images. Here’s a guide to help you get started with macro photography and produce breathtaking results.
1. Understanding Macro Photography
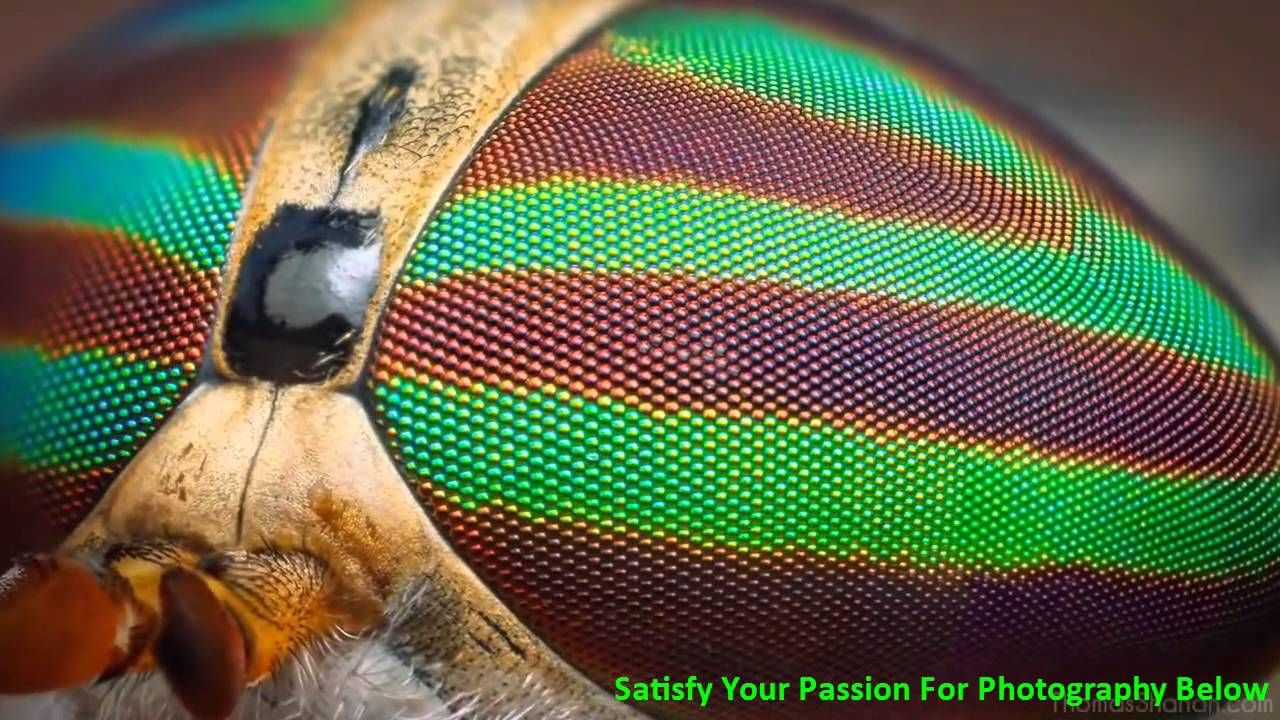
Macro photography is the art of capturing subjects at a close range, revealing details that are often invisible to the naked eye. Typically, macro shots have a magnification ratio of 1:1 or higher, meaning the subject is captured at life size or larger.
2. Choosing the Right Equipment
a. Macro Lenses: A dedicated macro lens is crucial for achieving true macro magnification. These lenses are designed to focus at extremely close distances and offer high optical quality. Look for lenses with a 1:1 magnification ratio or greater for the best results.
b. Extension Tubes: If you don’t have a macro lens, extension tubes can be an affordable alternative. They increase the distance between the lens and the camera sensor, allowing for closer focusing.
c. Tripods: A sturdy tripod is essential for macro photography. It stabilizes your camera and prevents unwanted camera shake, which is particularly important when shooting at high magnifications.
d. Remote Shutter Release: To avoid camera shake, use a remote shutter release or the camera’s self-timer function. This minimizes vibrations that can blur your images.
3. Mastering Focus
a. Manual Focus: Autofocus can struggle with macro photography due to the shallow depth of field. Switching to manual focus allows for precise control and ensures you focus exactly where you want.
b. Focus Stacking: For increased depth of field, consider focus stacking. This technique involves taking multiple images at different focal points and then combining them in post-processing to create a single image with extended sharpness.
4. Controlling Light
a. Natural Light: Soft, diffused natural light is ideal for macro photography. Overcast days provide even lighting that reduces harsh shadows. Position your subject near a window or in a shaded area for optimal results.
b. Artificial Light: If shooting indoors, use a ring light or a dedicated macro flash. Ring lights provide even illumination around the subject, while macro flashes help freeze motion and reduce shadows.
c. Reflectors and Diffusers: Use reflectors to bounce light back onto your subject and diffusers to soften harsh light sources. These tools help control the quality of light and enhance the overall look of your images.
5. Composition Tips
a. Background: Pay attention to your background. A cluttered or distracting background can take attention away from your subject. Use a plain or complementary background to make your subject stand out.
b. Angles and Perspectives: Experiment with different angles and perspectives to find the most compelling composition. Shooting from a low angle or trying unconventional viewpoints can add interest to your macro shots.
c. Depth of Field: Adjust your aperture to control the depth of field. A smaller aperture (higher f-stop) increases the depth of field, keeping more of the scene in focus. However, this can also reduce the amount of light hitting the sensor, so balance accordingly.
6. Post-Processing
a. Editing Software: Use photo editing software to enhance your macro images. Adjust brightness, contrast, and sharpness to bring out the details. Remove any distractions and fine-tune colors to achieve the desired look.
b. Noise Reduction: Macro photography often involves high ISO settings, which can introduce noise. Use noise reduction tools in your editing software to smooth out any graininess while preserving detail.
c. Crop Wisely: Cropping can help improve composition, but be mindful of the image resolution. Avoid excessive cropping that could reduce the image quality.
7. Practice and Patience
Macro photography requires patience and practice. It may take time to master focusing, lighting, and composition. Experiment with different techniques and be prepared to make adjustments as you learn. Each shot is a learning opportunity, so embrace the process and enjoy capturing the intricate beauty of the world around you.
Conclusion
By following these essential macro photography techniques, beginners can start creating breathtaking close-up images that reveal the hidden details and beauty in everyday objects. With the right equipment, careful attention to focus, light control, and composition, you can unlock the full potential of macro photography and develop your unique photographic style. Keep practicing and experimenting, and you’ll soon be capturing stunning macro shots that showcase your growing skills and artistic vision.


