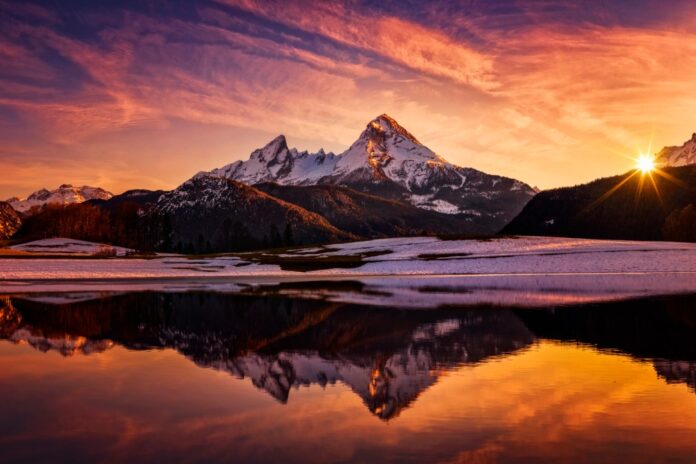
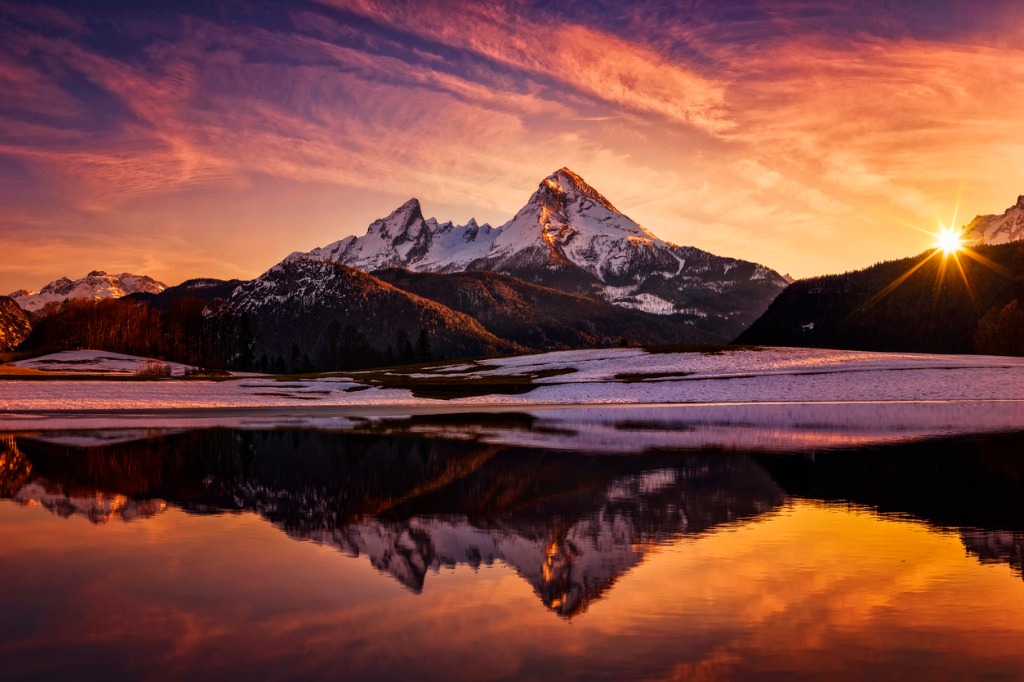
Landscape photography during the golden hour is a favorite among photographers. The golden hour, which occurs shortly after sunrise and before sunset, provides soft, warm light that can transform a simple scene into something magical. Mastering this time of day can elevate your photography to new heights. Here are expert tips to help you capture perfect landscape photos during the golden hour.
Understanding the Golden Hour
The golden hour refers to the period shortly after sunrise and before sunset when the sun is low in the sky, casting a warm, golden light. This light creates long shadows and a unique, soft glow that is highly sought after in photography. The exact duration of the golden hour varies depending on your location and the time of year.
Plan Ahead
- Scout Locations: Visit potential shooting locations ahead of time. Understanding the landscape, light direction, and possible compositions will save you valuable time during the golden hour.
- Check the Weather: Clear skies are ideal, but clouds can add drama to your photos. Use weather apps to anticipate the best conditions.
- Use Apps and Tools: Applications like The Photographer’s Ephemeris (TPE) or PhotoPills help you plan your shoot by providing details on sunrise and sunset times, light direction, and more.
Gear Up
- Tripod: Stability is crucial during low light conditions. A sturdy tripod helps avoid camera shake and allows for longer exposures.
- Wide-Angle Lens: Capture more of the scene with a wide-angle lens, which is perfect for expansive landscapes.
- Filters: Use polarizing filters to reduce glare and enhance colors. Neutral density (ND) filters can help manage exposure in bright conditions.
Master Your Camera Settings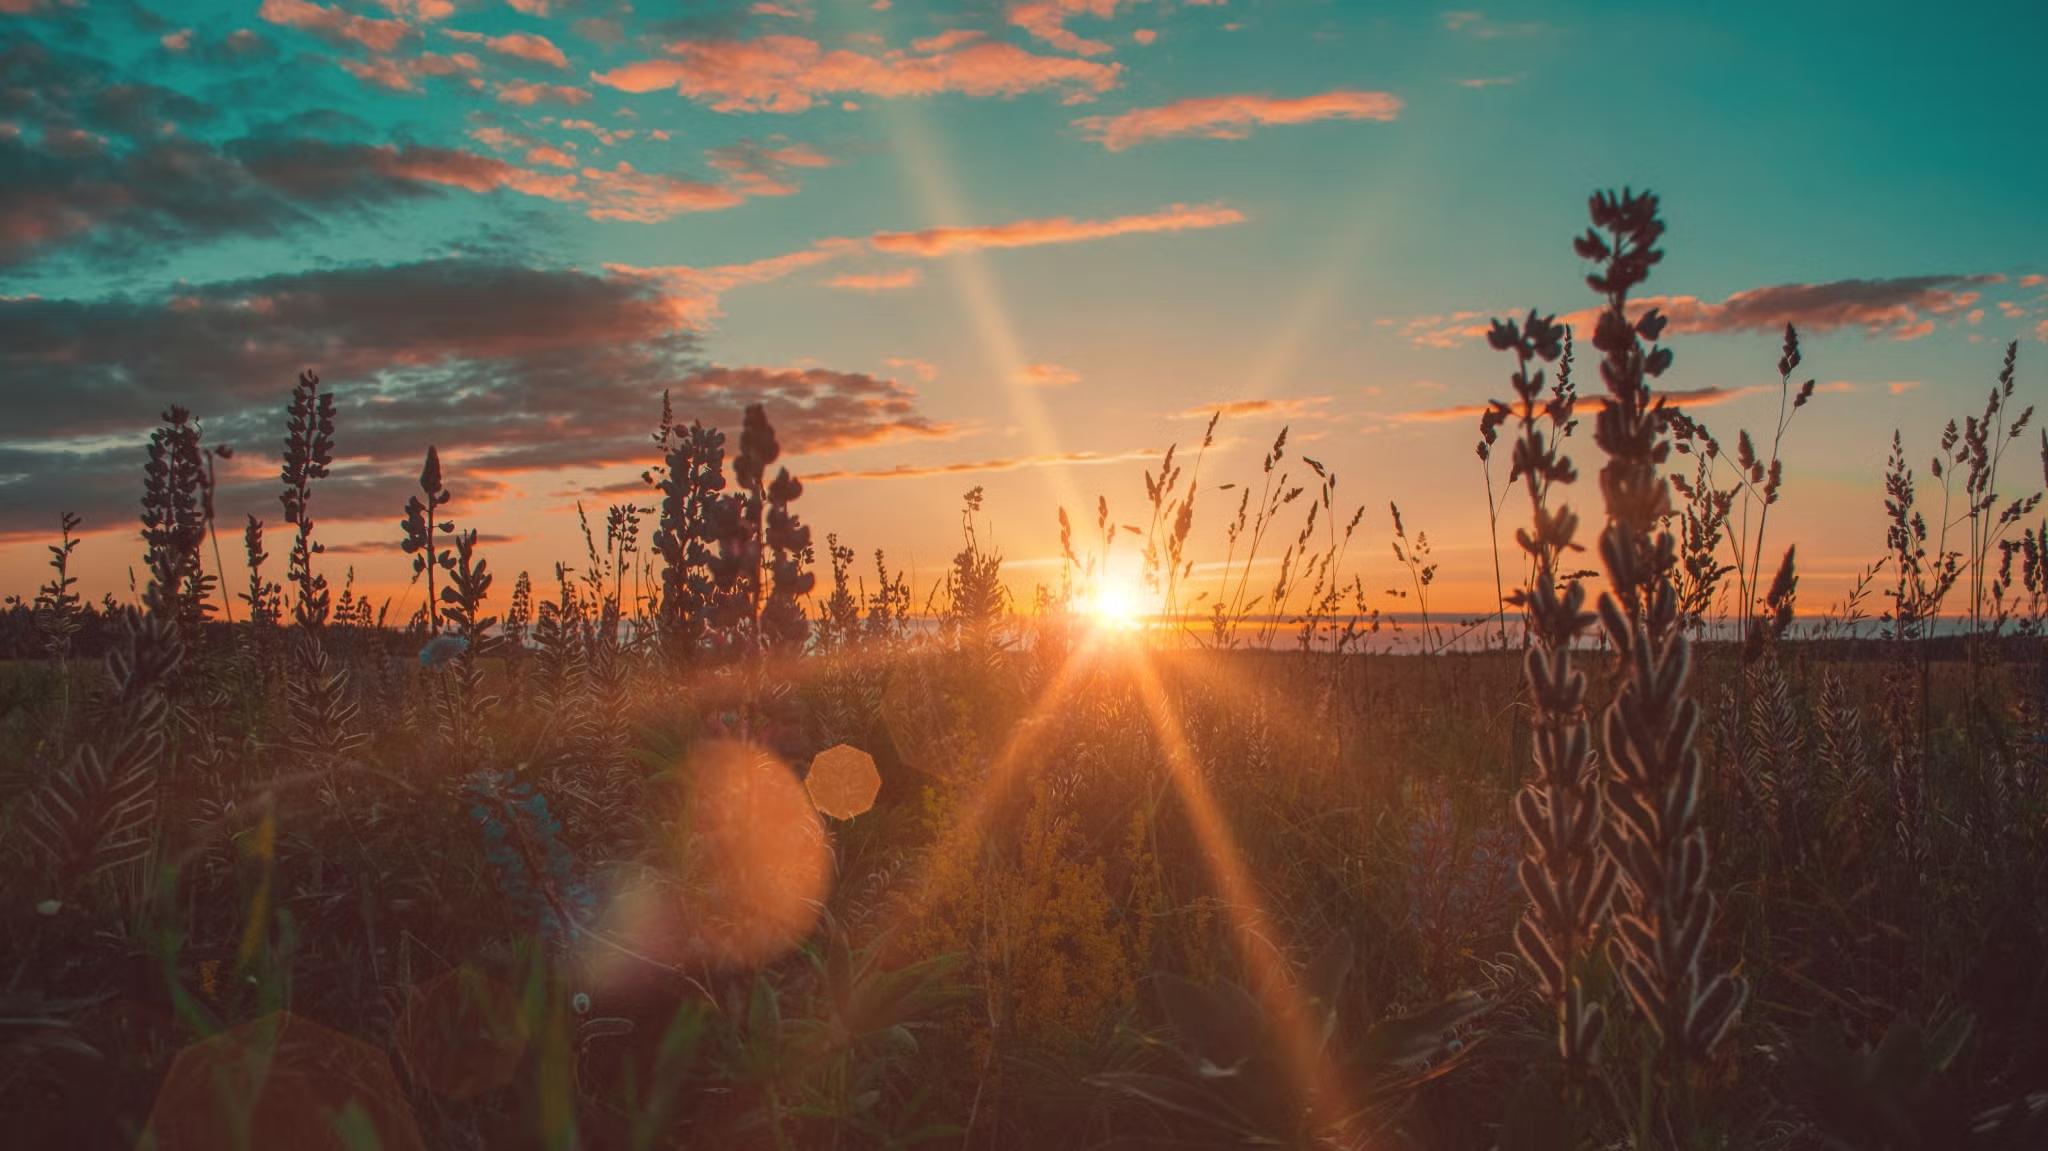
- Aperture: Use a smaller aperture (higher f-stop) for greater depth of field, ensuring your entire scene is in focus.
- Shutter Speed: Adjust your shutter speed based on the light. Early golden hour may require slower speeds, while later may need faster speeds as the light fades.
- ISO: Keep your ISO as low as possible to minimize noise. Increase it only if necessary to maintain a correct exposure.
Composition Techniques
- Rule of Thirds: Position key elements along the lines and intersections of the grid to create balanced and interesting compositions.
- Leading Lines: Use natural lines like roads, rivers, or trails to guide the viewer’s eye through the photograph.
- Foreground Interest: Include elements in the foreground to add depth and draw attention to the main subject.
Utilize the Light
- Front Lighting: When the sun is behind you, it illuminates the scene evenly. This can be great for capturing vibrant colors.
- Side Lighting: Light coming from the side creates shadows and highlights, adding texture and depth to your photos.
- Backlighting: Shooting towards the sun can create stunning silhouettes and sun flares, adding drama to your images.
Post-Processing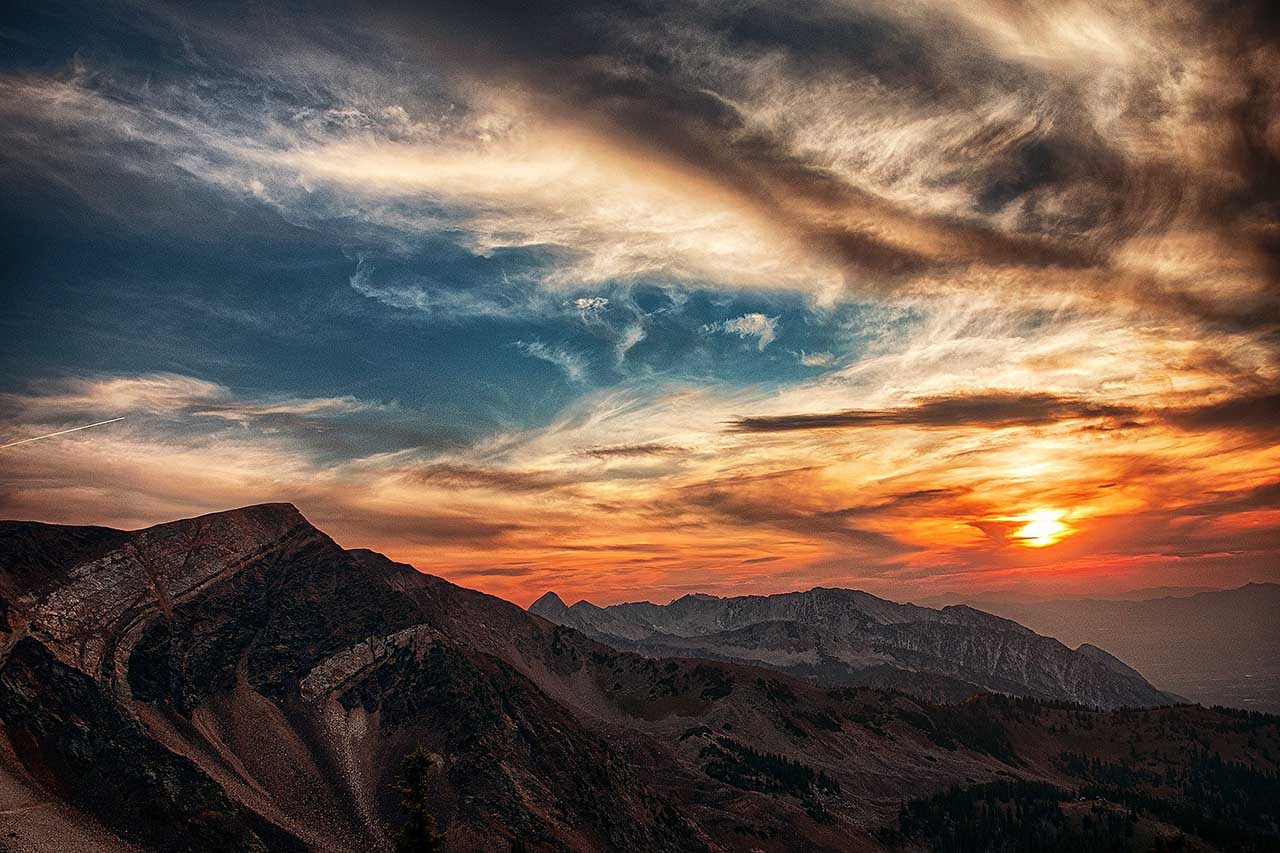
- Adjust White Balance: Fine-tune the warmth of your images to enhance the golden hour effect.
- Enhance Colors: Use tools like vibrance and saturation to make colors pop without overdoing it.
- Sharpening and Noise Reduction: Apply sharpening to bring out details and use noise reduction to clean up any graininess, especially in darker areas.
Practice and Patience
Like any skill, mastering golden hour photography requires practice. Don’t get discouraged if your first attempts aren’t perfect. Analyze your shots, learn from your mistakes, and keep experimenting. Patience is key, as the perfect light and conditions might not always align with your schedule.
Conclusion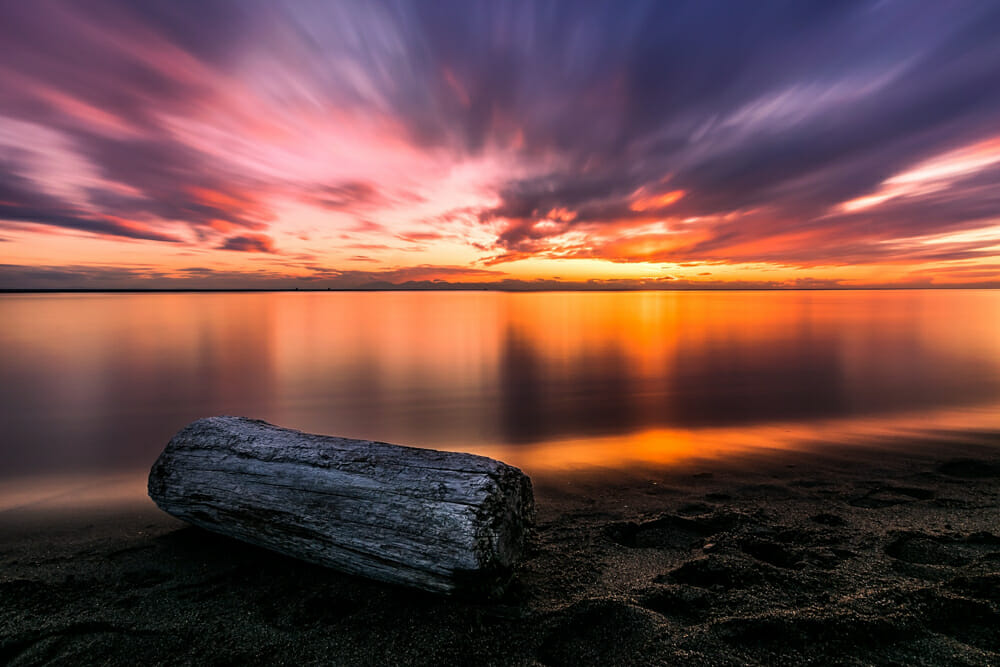
Golden hour provides a unique opportunity for landscape photographers to capture stunning images with beautiful light. By planning ahead, using the right gear, mastering your camera settings, and practicing patience, you can create breathtaking landscape photos that stand out. Remember, the magic of the golden hour is fleeting, so make every shot count.
By following these expert tips, you’ll be well on your way to mastering golden hour landscape photography and creating images that captivate and inspire.


