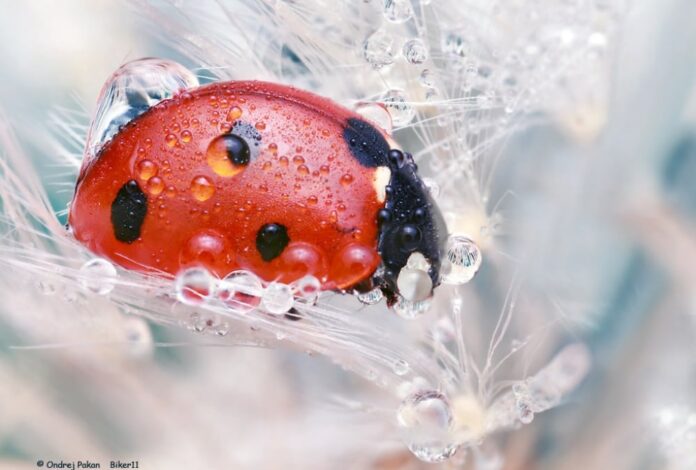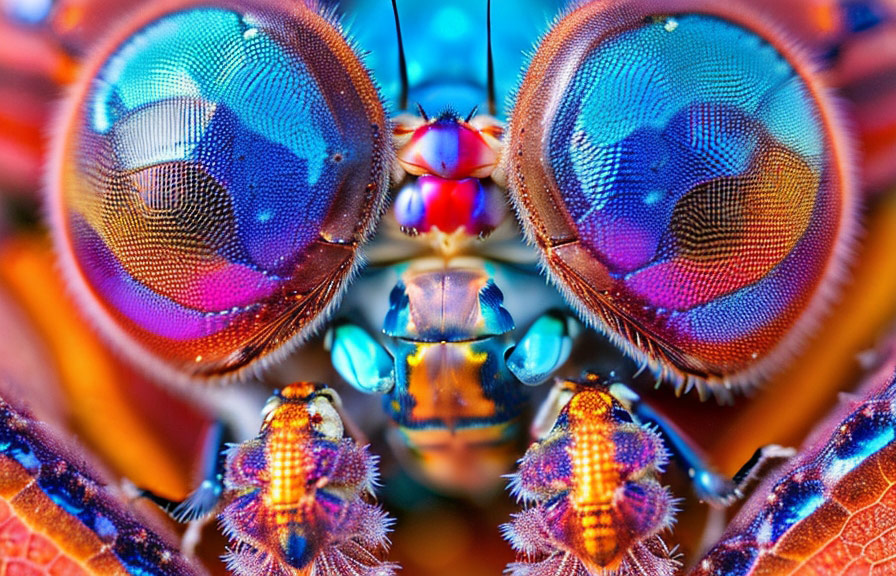
Macro photography opens a door to a world often overlooked by the naked eye, revealing intricate details and vibrant colors of subjects such as flowers, insects, and everyday objects. This art form emphasizes the beauty in small details, allowing photographers to capture breathtaking images that can inspire awe and curiosity. In this article, we will explore advanced macro photography techniques that can elevate your images and enhance your skills, ensuring that your work stands out in the crowded field of photography.
Understanding Macro Photography
Macro photography typically refers to capturing small subjects at a 1:1 ratio or greater, meaning that the subject appears life-size or larger in the frame. This requires specialized equipment and techniques to achieve sharp focus and exceptional detail. Whether you’re a seasoned professional or an enthusiastic hobbyist, understanding the nuances of macro photography can significantly enhance the quality of your work.
Essential Equipment for Macro Photography
Before diving into advanced techniques, it’s essential to have the right equipment. While some photographers may achieve impressive macro shots with a standard lens, investing in specific macro gear can drastically improve your results. Here are some essential tools to consider:
- Macro Lenses: Dedicated macro lenses allow for extreme close-ups. These lenses typically have a longer focal length (e.g., 90mm or 105mm) to provide distance between the subject and the camera, which is particularly useful for photographing skittish insects.
- Extension Tubes: These are hollow tubes placed between the camera body and the lens, allowing the lens to focus closer than its normal capability. They come in various lengths, providing flexibility in achieving the desired magnification.
- Tripods: Stability is crucial in macro photography due to the shallow depth of field and close focusing distances. A sturdy tripod minimizes camera shake, ensuring sharper images.
- Lighting Equipment: Proper lighting can make or break a macro shot. Consider using ring lights, LED panels, or external flashes to illuminate your subjects evenly. Natural light can also work beautifully, especially during the golden hours.
- Focus Stacking Equipment: For advanced photographers, focus stacking is a technique that involves taking multiple images at different focus points and merging them to create a single, sharp image. This can be particularly useful for subjects with intricate details, such as flowers or insects.
Advanced Techniques for Exceptional Macro Images
Once you have the right equipment, it’s time to explore advanced macro photography techniques that will help you capture exceptional images.
1. Mastering Depth of Field
Depth of field (DoF) is critical in macro photography, as it determines how much of the image is in focus. In macro shots, the DoF can be extremely shallow, making it challenging to keep the entire subject sharp. Here are some tips to manage depth of field effectively:
- Use a Smaller Aperture: Lowering the aperture (higher f-number) increases depth of field, allowing more of your subject to be in focus. However, be mindful that very small apertures can introduce diffraction, reducing image sharpness.
- Experiment with Focus Stacking: Focus stacking involves taking several images at different focus points and combining them in post-processing. This technique allows you to create a final image with incredible sharpness across the entire subject.
2. Utilize Natural Light and Reflectors
Lighting plays a crucial role in macro photography. Natural light can create stunning effects, but it’s essential to control how it interacts with your subject:
- Use Reflectors: Reflectors can bounce light onto your subject, reducing harsh shadows and highlighting details. A simple white card or professional reflector can make a significant difference.
- Shoot During the Golden Hour: The soft, diffused light during sunrise or sunset enhances colors and reduces harsh contrasts, making it an ideal time for macro photography.
3. Pay Attention to Backgrounds
A cluttered or distracting background can take away from your subject. Here are some strategies to achieve pleasing backgrounds in macro photography:
- Use a Wide Aperture: A wide aperture will create a shallow depth of field, effectively blurring the background and drawing attention to your subject.
- Choose Simple Backgrounds: Look for backgrounds with complementary colors or textures that enhance your subject without overwhelming it. This might be a solid color, a blurred natural scene, or even a piece of fabric.
4. Explore Unique Angles and Perspectives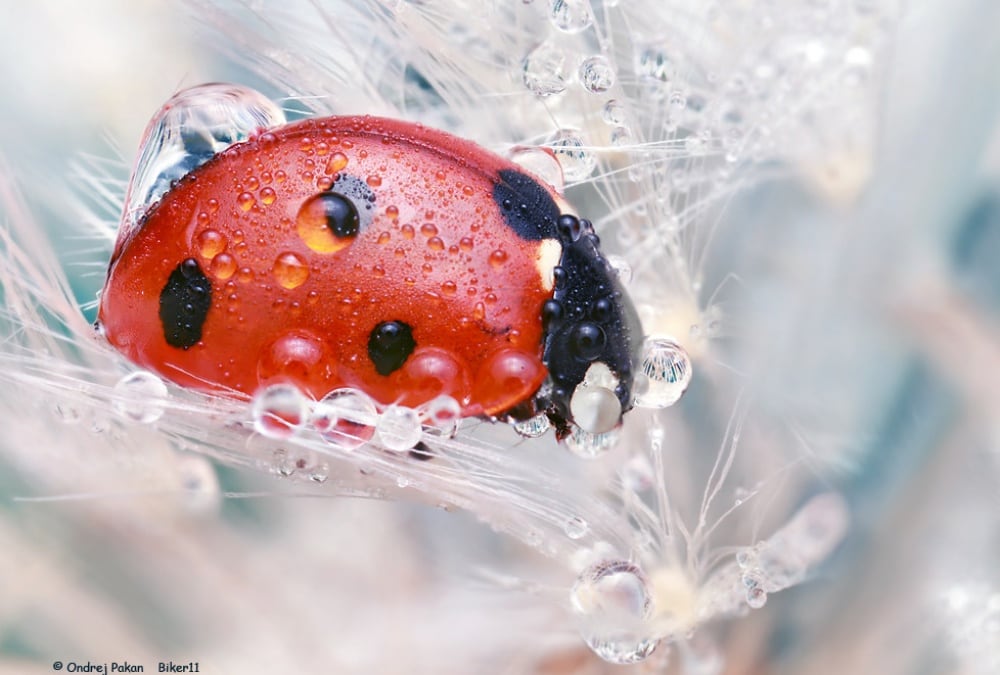
Macro photography allows for creativity in framing and composition. Experimenting with different angles can lead to extraordinary results:
- Get Low: Shooting from a lower angle can provide a unique perspective and help emphasize the details of your subject, such as the texture of a flower petal or the iridescence of an insect’s wings.
- Change Your Distance: Sometimes, stepping back a bit and framing your subject in context can create a more compelling image that tells a story.
5. Timing and Patience
Macro photography often requires patience, especially when photographing living subjects. Here are some tips for timing your shots:
- Observe Your Subject: Spend time watching insects or flowers. Understanding their behavior can help you predict when they’ll be in the perfect position for a shot.
- Be Ready: Have your camera settings dialed in and be prepared to shoot quickly. Insects can move unexpectedly, and you don’t want to miss a fleeting moment.
6. Experiment with Creative Techniques
Once you’re comfortable with standard macro techniques, consider experimenting with more creative approaches:
- Use a Shutter Release Cable: A shutter release cable or remote can minimize camera shake, especially when shooting at slower shutter speeds.
- Try Motion Blur: Capturing motion can add a dynamic element to your macro photography. Experiment with slower shutter speeds while tracking a moving subject, like a bee hovering over a flower.
- Incorporate Water Droplets: Adding water droplets to your subjects can create stunning effects. Use a spray bottle to create fine mist on flowers or arrange droplets on surfaces for added interest.
7. Post-Processing Techniques
Post-processing is a vital part of modern photography, and macro images can benefit significantly from it:
- Enhance Details: Use software like Adobe Lightroom or Photoshop to sharpen details and enhance colors. Tools like clarity and vibrance can help bring out the intricate textures in your images.
- Focus Stacking: If you’ve taken multiple images for focus stacking, software like Helicon Focus or Photoshop can help you merge them seamlessly, achieving incredible depth of field.
- Crop Thoughtfully: Don’t be afraid to crop your images to improve composition. However, ensure that the cropped area still retains enough detail to avoid pixelation.
Conclusion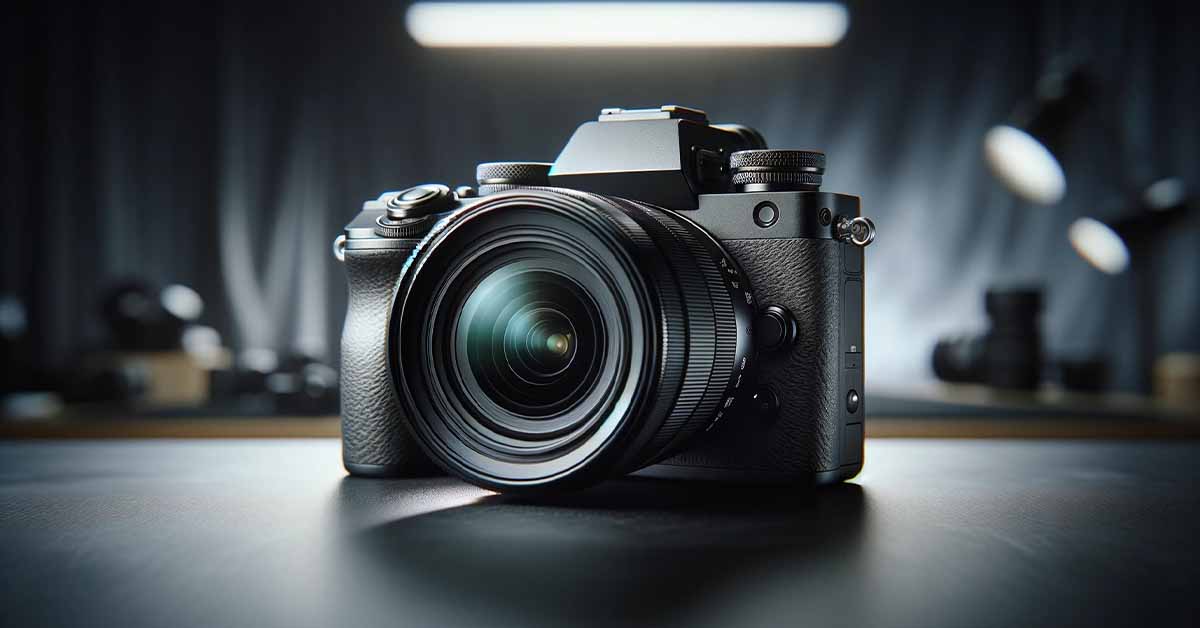
Macro photography offers a unique opportunity to explore the hidden beauty of the world around us. By mastering advanced techniques and investing in the right equipment, photographers can create exceptional images that showcase intricate details and vibrant colors. Remember that patience, creativity, and a keen eye for detail are essential for capturing stunning macro photographs. With practice, you can elevate your skills and produce images that inspire and captivate viewers, making your mark in the field of photography.


